

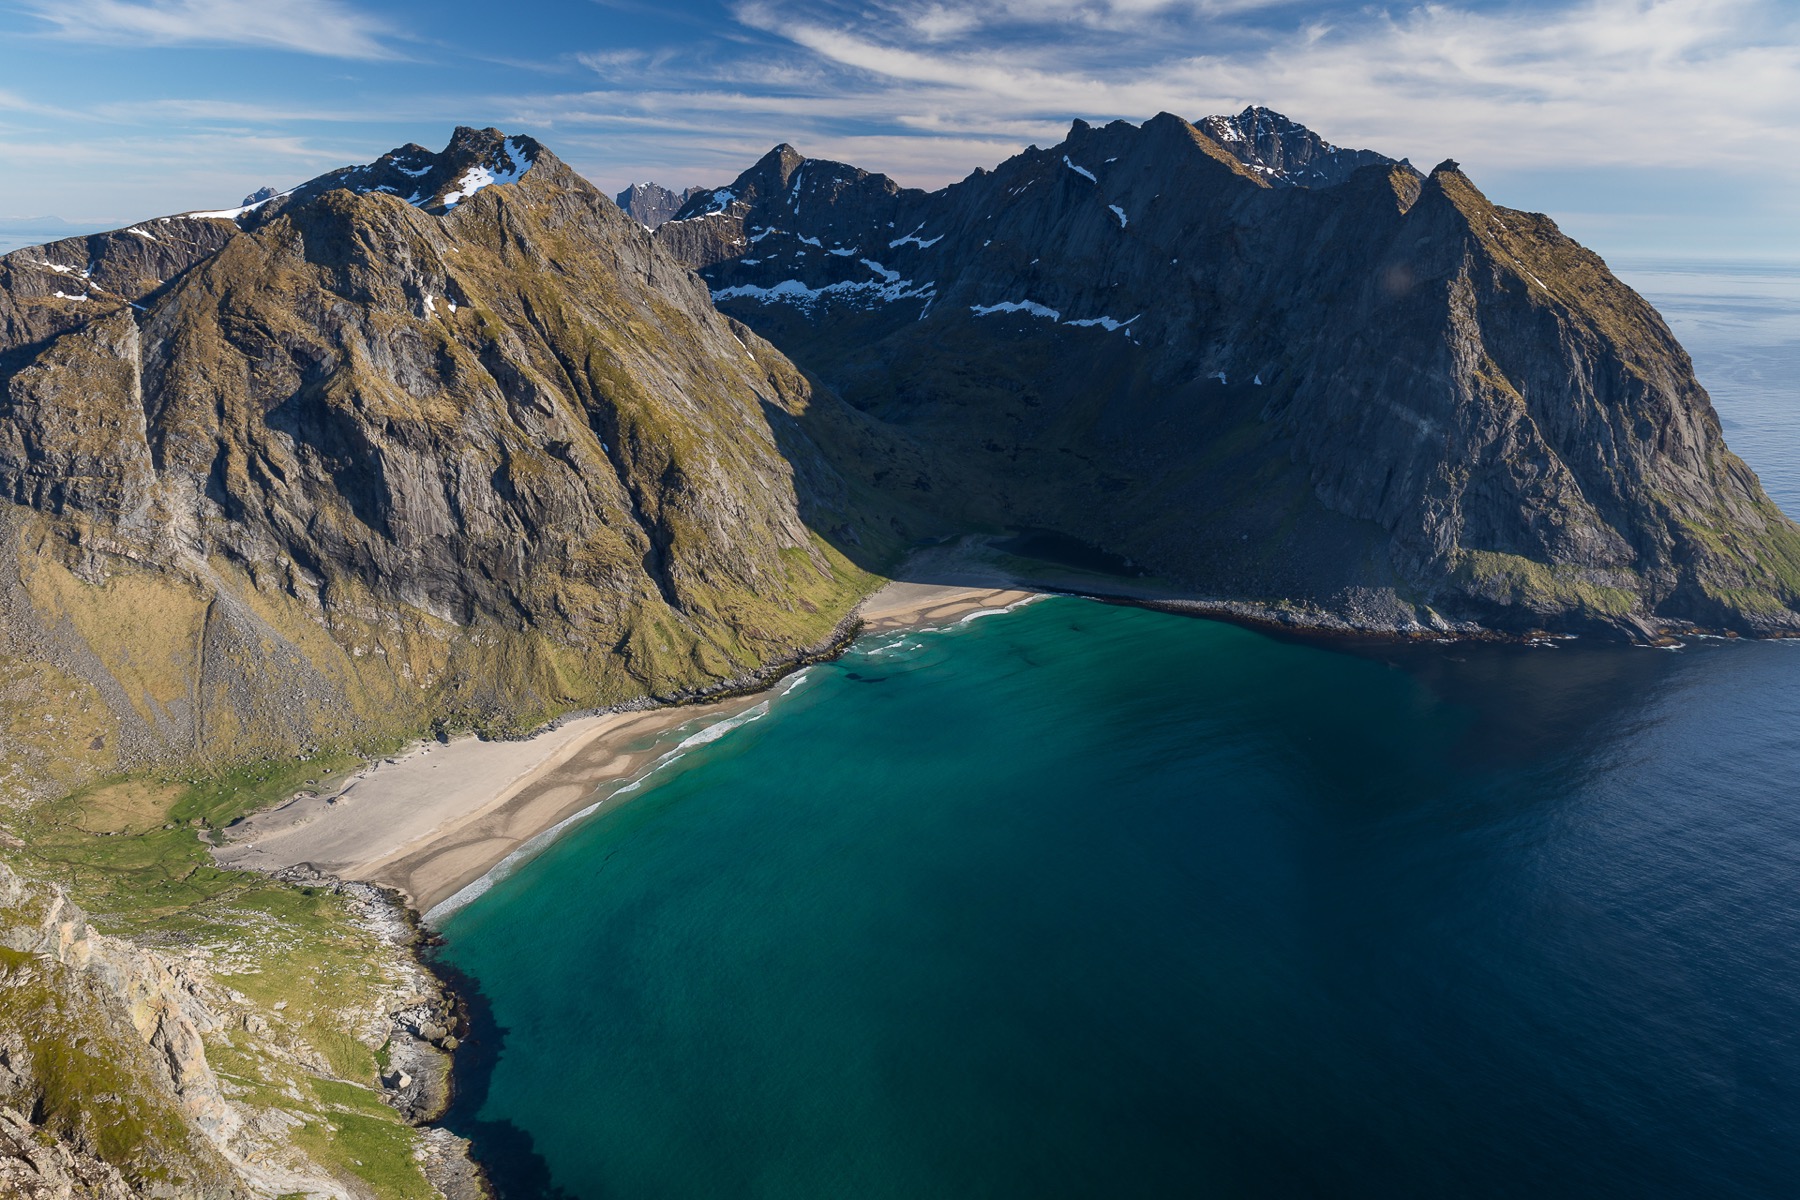
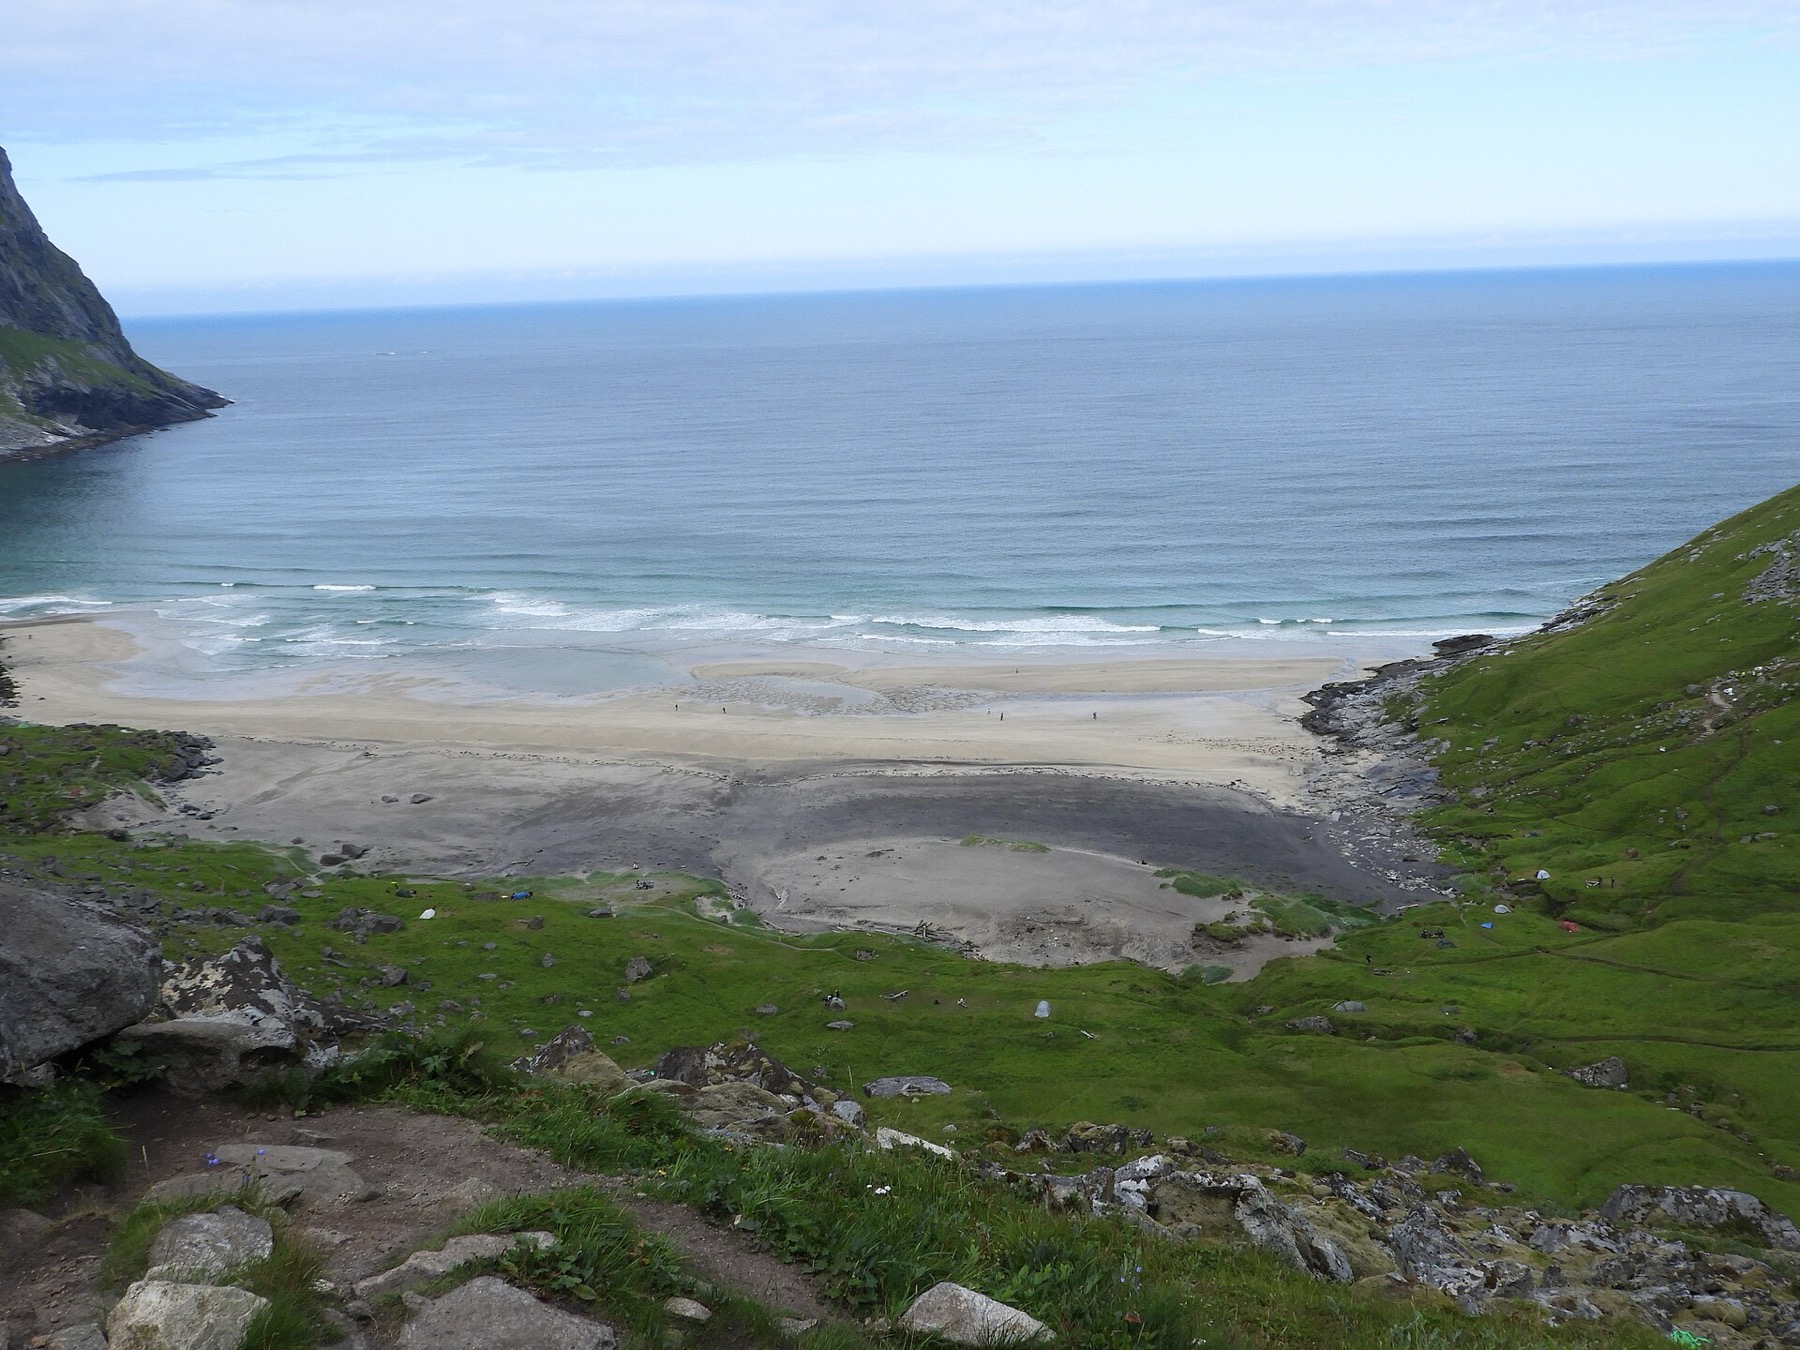
It might surprise you that the single most famous photo from all of Lofoten, Norway isn’t taken on the overcrowded Reinebringen, but on the unassuming rocky overhang of Mount Ryten. Stand on it and, deep below you, the view opens up onto a turquoise ocean and the snow-white sand of Kvalvika Beach, a place reached by no road at all. It’s a scene that looks like it belongs to another world, and that’s exactly why nearly 90,000 visitors head here every year. If you’re planning this iconic hike, a breathtaking experience awaits, but so does a big logistical challenge. It’s far from just walking up a hill; the much trickier part is finding a legal place to park and staying out of the ever-present mud.
Let’s take a look together at how to plan this, the most popular combined hike in western Lofoten. I’ll tell you which route to choose, where you absolutely should not leave your car if you don’t want to pay a hefty fine, and what to watch out for this season.
TL;DR
If you don’t feel like reading through all the details and just need to soak up the most important info fast, I’ve put together a quick overview for you. Here you’ll find the absolute basics you definitely shouldn’t set out on the hike without.
- 2026 closures: Between 22 June and 30 September 2026 there’s major trail construction underway, so expect detours and, occasionally, even a full closure of the route while helicopters are in use.
- Parking is a problem: Capacity is small and parking along the road risks a fine of 900 NOK (about €80). Your best bet is the old school in Fredvang or the private Innersand car park.
- Best route: I recommend the big loop (12.5 km) that links both Mount Ryten and Kvalvika Beach and takes roughly 5 to 7 hours of walking.
- The famous overhang: The iconic photo spot isn’t right at Ryten’s summit, but roughly five minutes below it.
- Drone ban: The whole area falls within Lofotodden National Park and flying drones is strictly forbidden here, under threat of a fine of 12,000 NOK (about €1,050).
- Contaminated water: If you camp on the beach, you must always boil water from the local streams, because tests found E. coli bacteria in it.
The full destination guide: Lofoten — guide and what to see
10 Things You Must Know Before the Hike
Before you lace up your boots and set off to hunt for the best photos in Lofoten, it’s worth preparing a little. This trek can catch out even seasoned hikers, whether we’re talking about the whims of the weather, the treacherous mud, or the simple fact that finding a parking spot here is often more of an adrenaline rush than the hike itself. 😉
I’ve written up ten absolutely key tips that’ll save you plenty of stress, time and money on needless fines. Let’s go through them point by point, so that up there at the rocky overhang nothing catches you off guard except the incredible beauty all around.
1. Construction Work and Detours in Summer 2026
If you’re heading to Lofoten in the summer season of 2026, you need to be ready for a big change. The national park administration has announced that between 22 June and 30 September there will be a major reconstruction of the trail between Kvalvika and Ryten. Thanks to the huge influx of tourists, around 90,000 a year, the vegetation here is badly damaged and reinforcing the route is an absolute necessity. Workers will be building a proper stone path to prevent further erosion and protect the fragile Arctic nature.
Individual sections will be temporarily closed for safety reasons, but there should always be marked alternative detours. So you’ll get to both the summit and the beach without any trouble; you just need to watch the local signs closely and count on a slight delay. On certain days there will also be material being flown in by helicopter, which can mean a short-term closure of the entire mountain. 💡 Tip: I definitely recommend checking Lofotodden National Park’s social media before your hike, where you’ll find the most up-to-date information. In short, expect the routes to change from day to day, so just keep an eye on their channels; those views are genuinely worth a bit of stress.
2. Parking Is a Nightmare (and Where to Leave Your Car)
The biggest problem of the whole hike isn’t the climb itself, but finding a parking spot. Completely avoid the small Torsfjorden car park, which holds only about sixteen cars and, in the summer months, is hopelessly full by around nine in the morning. Many hikers used to leave their cars along the narrow road a short walk from the start, but this fatally blocked local residents and rescue services. Today there’s an uncompromising parking patrol here that routinely hands out hefty 900 NOK fines (about €80).
A much better choice is the private Innersand car park, which you’ll often find signposted as Parking for Ryten and Kvalvika. It holds over eighty cars, all-day parking costs 100 NOK (about €9), and you can pay in cash, by card or with the Norwegian Vipps app. A huge advantage is that here you’ll find the only toilets on the entire route, and in high season there’s even a small food truck. The very safest option is the large car park by the old school in Fredvang, which costs 250 NOK (about €22) and is paid via the EasyPark app. 💡 Tip: From here you do have to walk roughly three kilometres along the road to the trailhead, but you’re guaranteed a legal spot, you’ll find EV chargers, and it’s the only place in the area where you can officially spend the night in a camper van.
3. Walk the Big Loop and Save Yourself the Climb
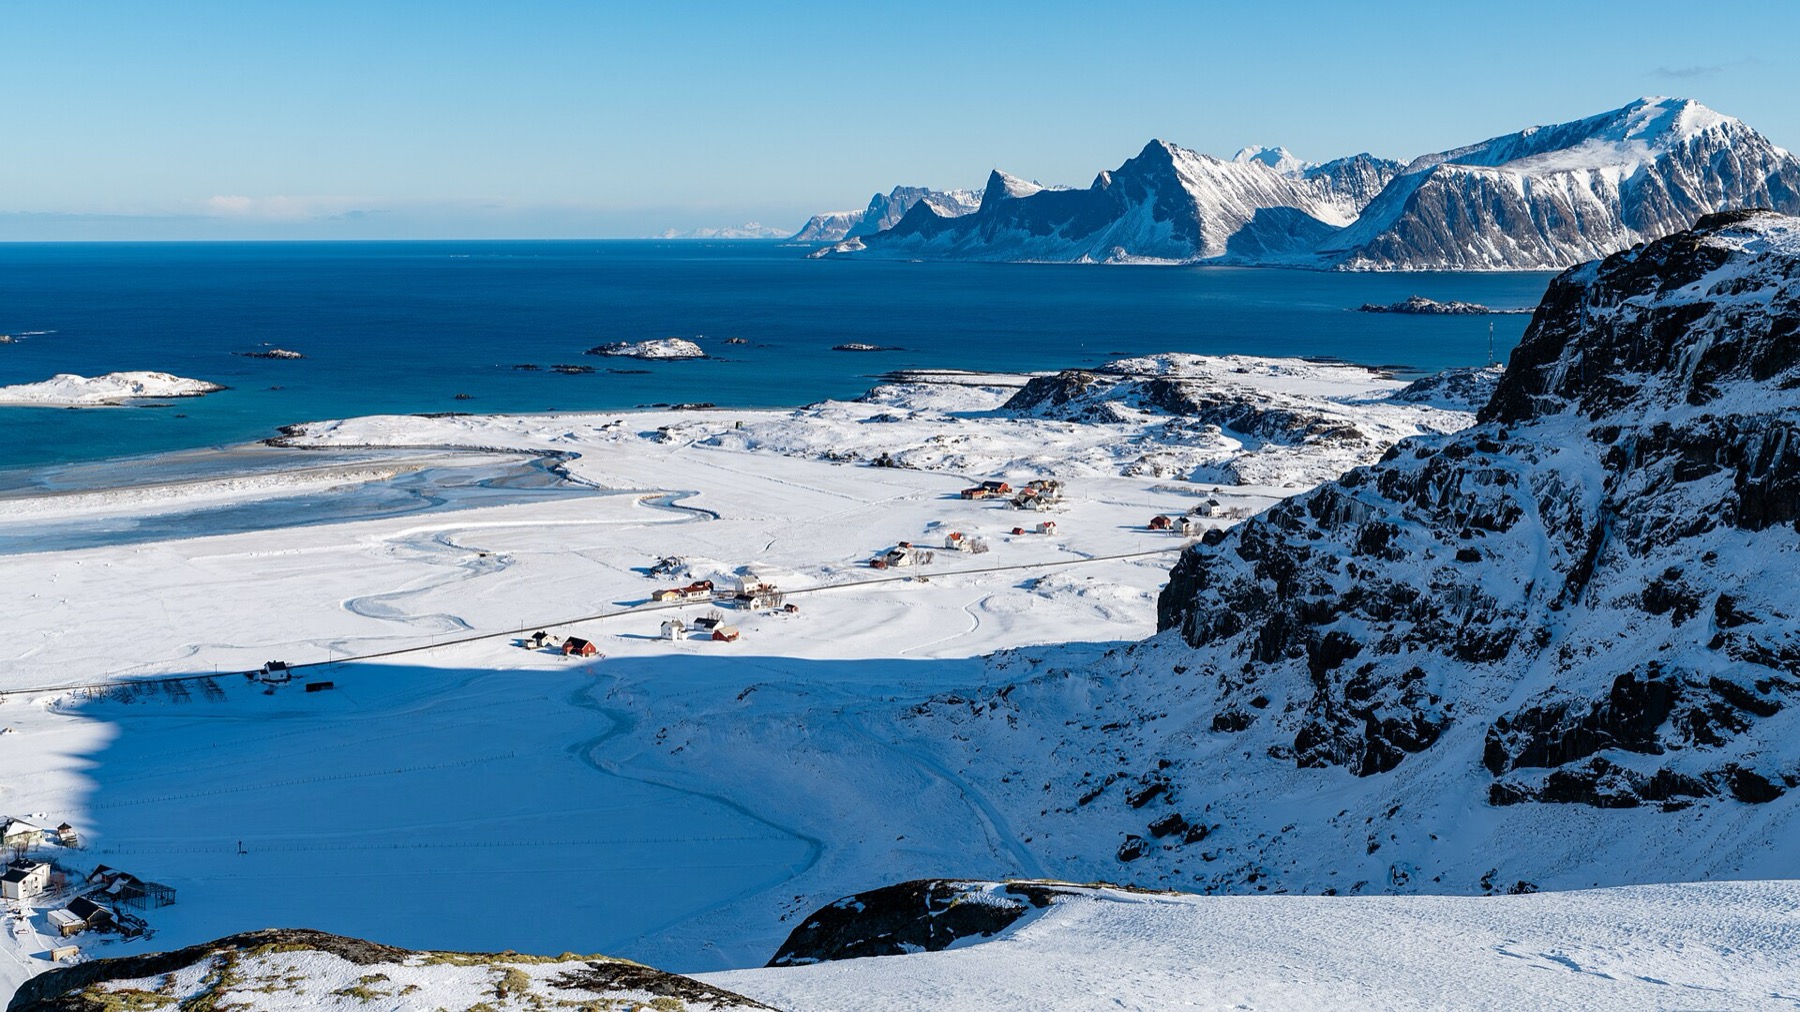
Many guides describe the routes to Ryten and to Kvalvika Beach as two separate hikes, but by far the best experience is to combine both places into one big loop. The whole route measures roughly 12.5 kilometres with about 930 metres of elevation gain and takes you five to seven hours of walking time. The ideal starting point for this combination is the more spacious Innersand car park.
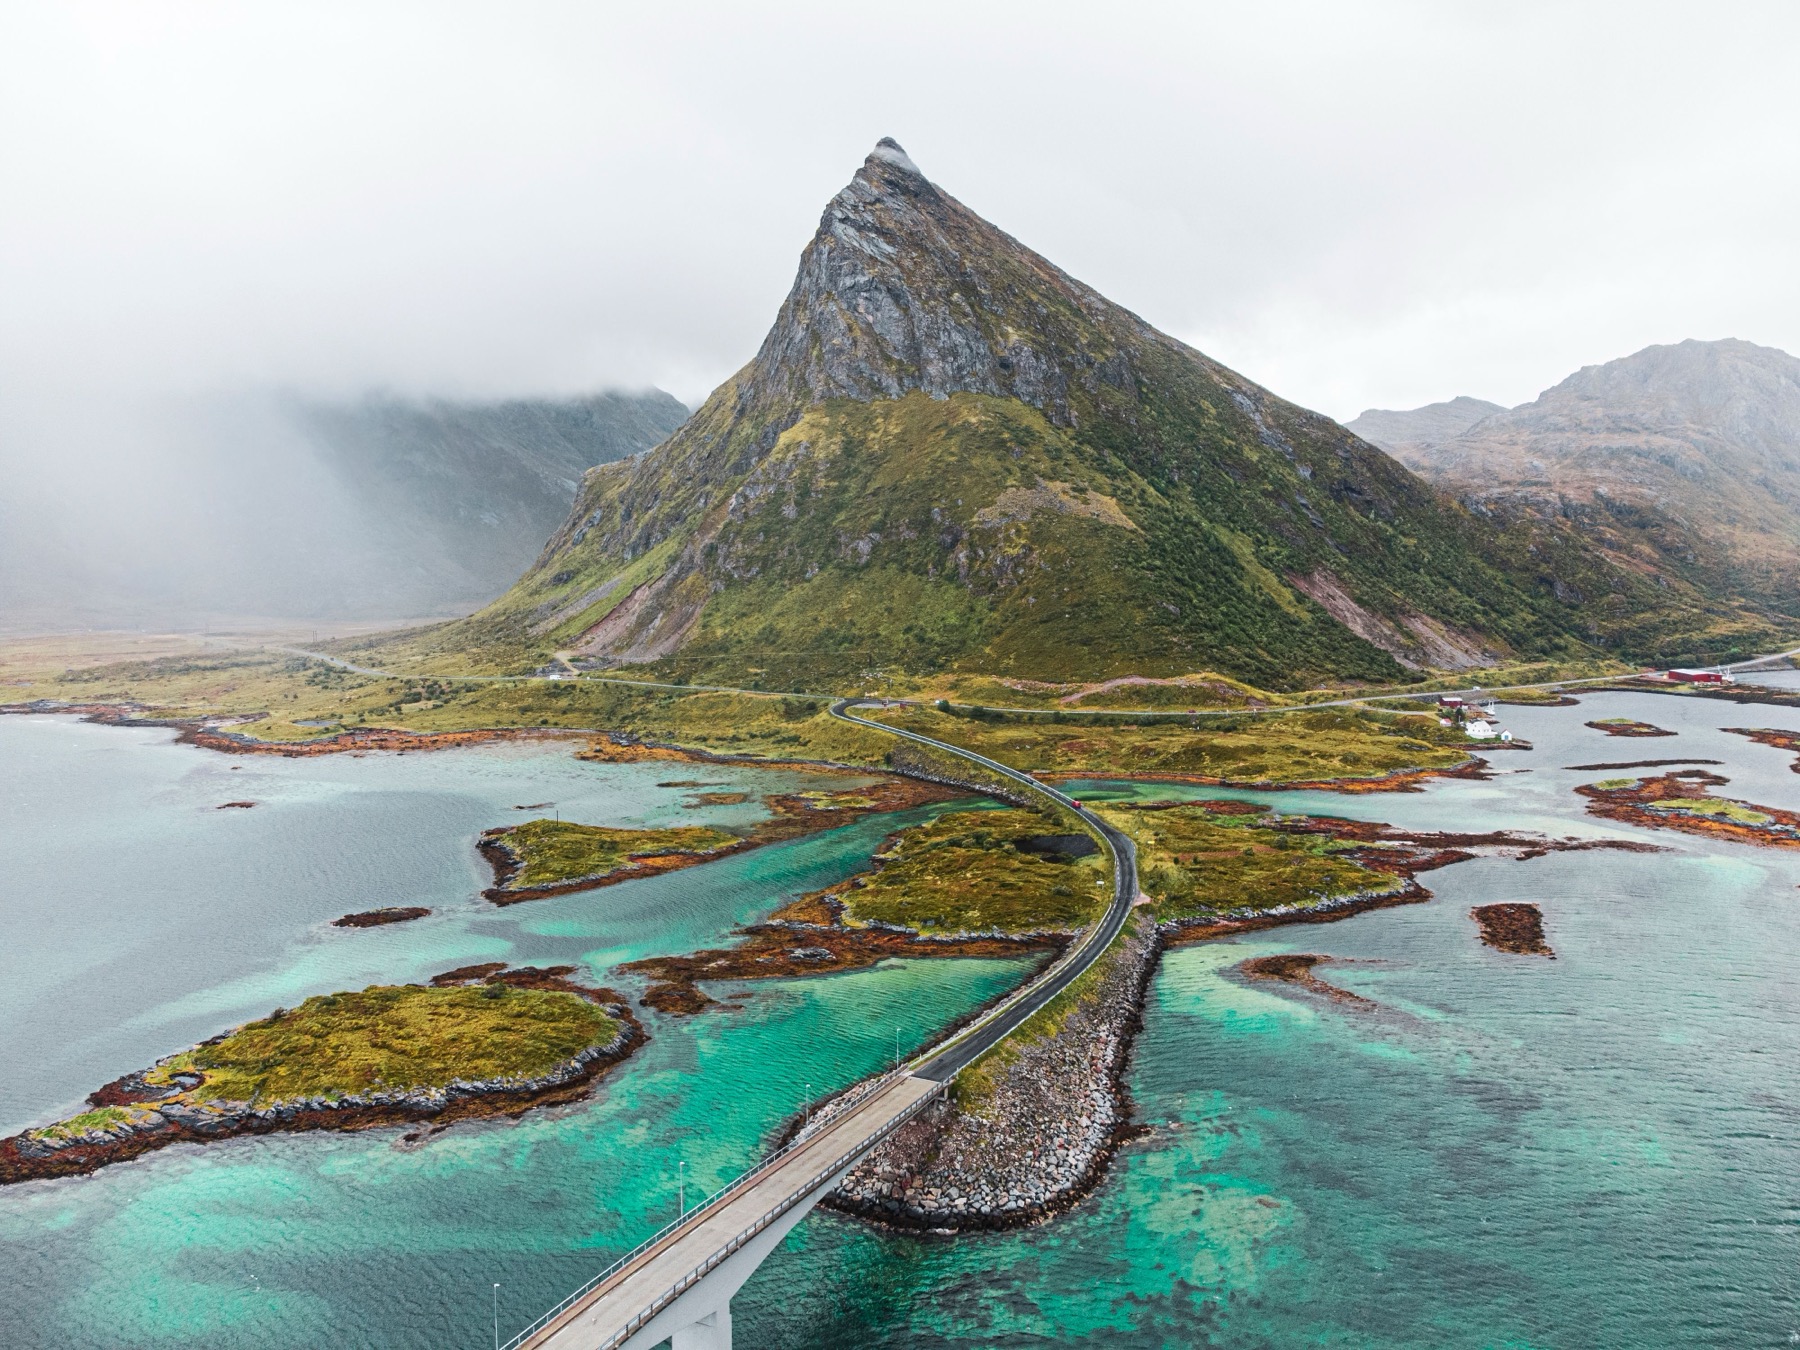
I recommend setting off from Innersand first to the summit of Ryten itself. You’ll enjoy gorgeous views, get your photo on the famous overhang, and then face a steep and fairly tiring rocky descent straight down to Kvalvika Beach. Once you’ve rested on the snow-white sand and explored the coastline, you head back over the Skoren mountain pass down to the small Torsfjorden car park. The return from the beach over this pass is much shorter and easier than clawing your way up the steep hill back to Ryten. From Torsfjorden you then walk roughly five kilometres along the local tarmac road back to your car at Innersand. 💡 Tip: The road back to the car leads over the beautiful Fredvang bridges, where there’s a safe pedestrian path with a rest area, so you don’t have to worry about weaving between the traffic.
4. The Famous Rocky Overhang Isn’t Right at the Summit
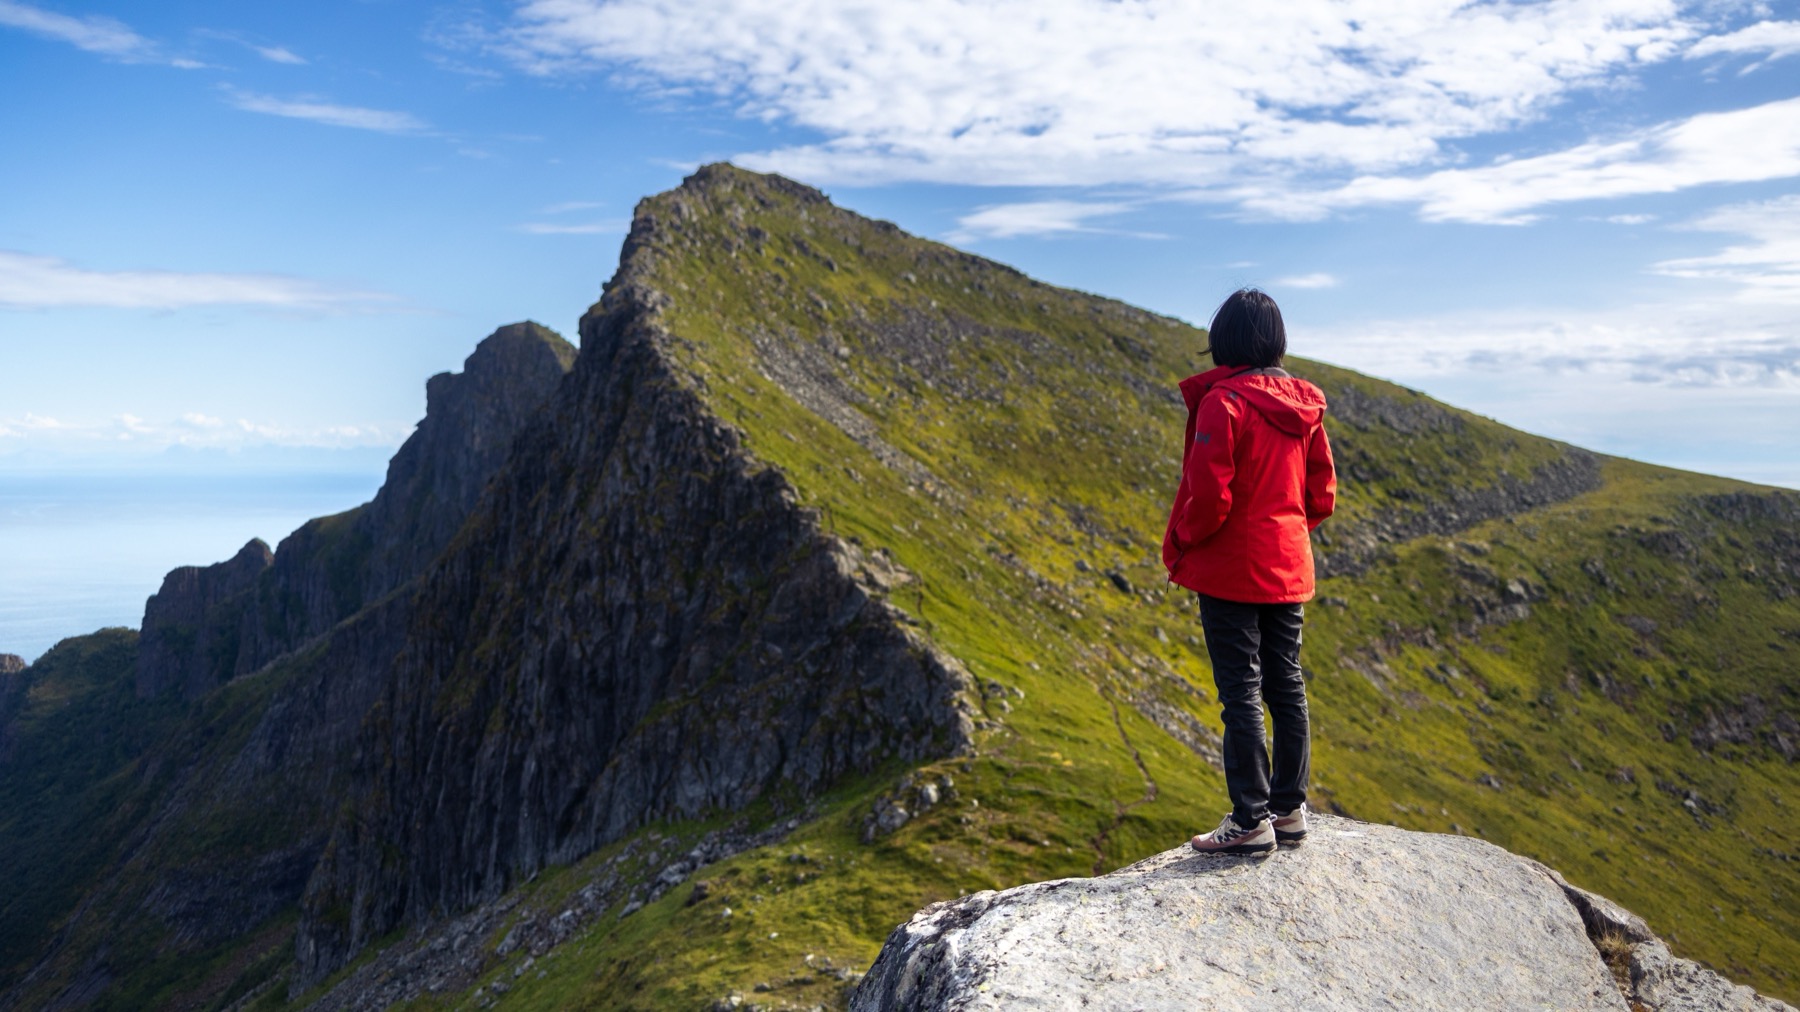
That iconic photo, the reason most people travel here, isn’t actually taken at the summit of Ryten itself. The official peak, 543 metres above sea level, is rather flat and, paradoxically, you can’t even see Kvalvika Beach from it. The famous rocky overhang lies roughly five minutes’ walk below the summit, so on the final ascent you definitely won’t miss it on the right-hand side.
Although the photos on social media look terrifyingly dangerous, the rock itself is surprisingly wide and a bit safer than it seems at first glance. The dramatic effect of the abyss comes purely from the right camera angle, with the photographer shooting you slightly from the side. Still, one firm rule applies: in rain or strong wind, simply don’t climb onto the rock; the gusts here can catch you out very fast. And bear in mind that in season queues form at the overhang, so you’ll wait a while for that perfect shot. 💡 Tip: If you’re after a photo with no waiting, set off really early in the morning or, conversely, late in the evening during the polar day. From roughly the end of May to mid-July the sun doesn’t set at all, so you’ll get the most beautiful soft light even at midnight.

5. Mud, Crowds, and Who the Hike Is Actually For
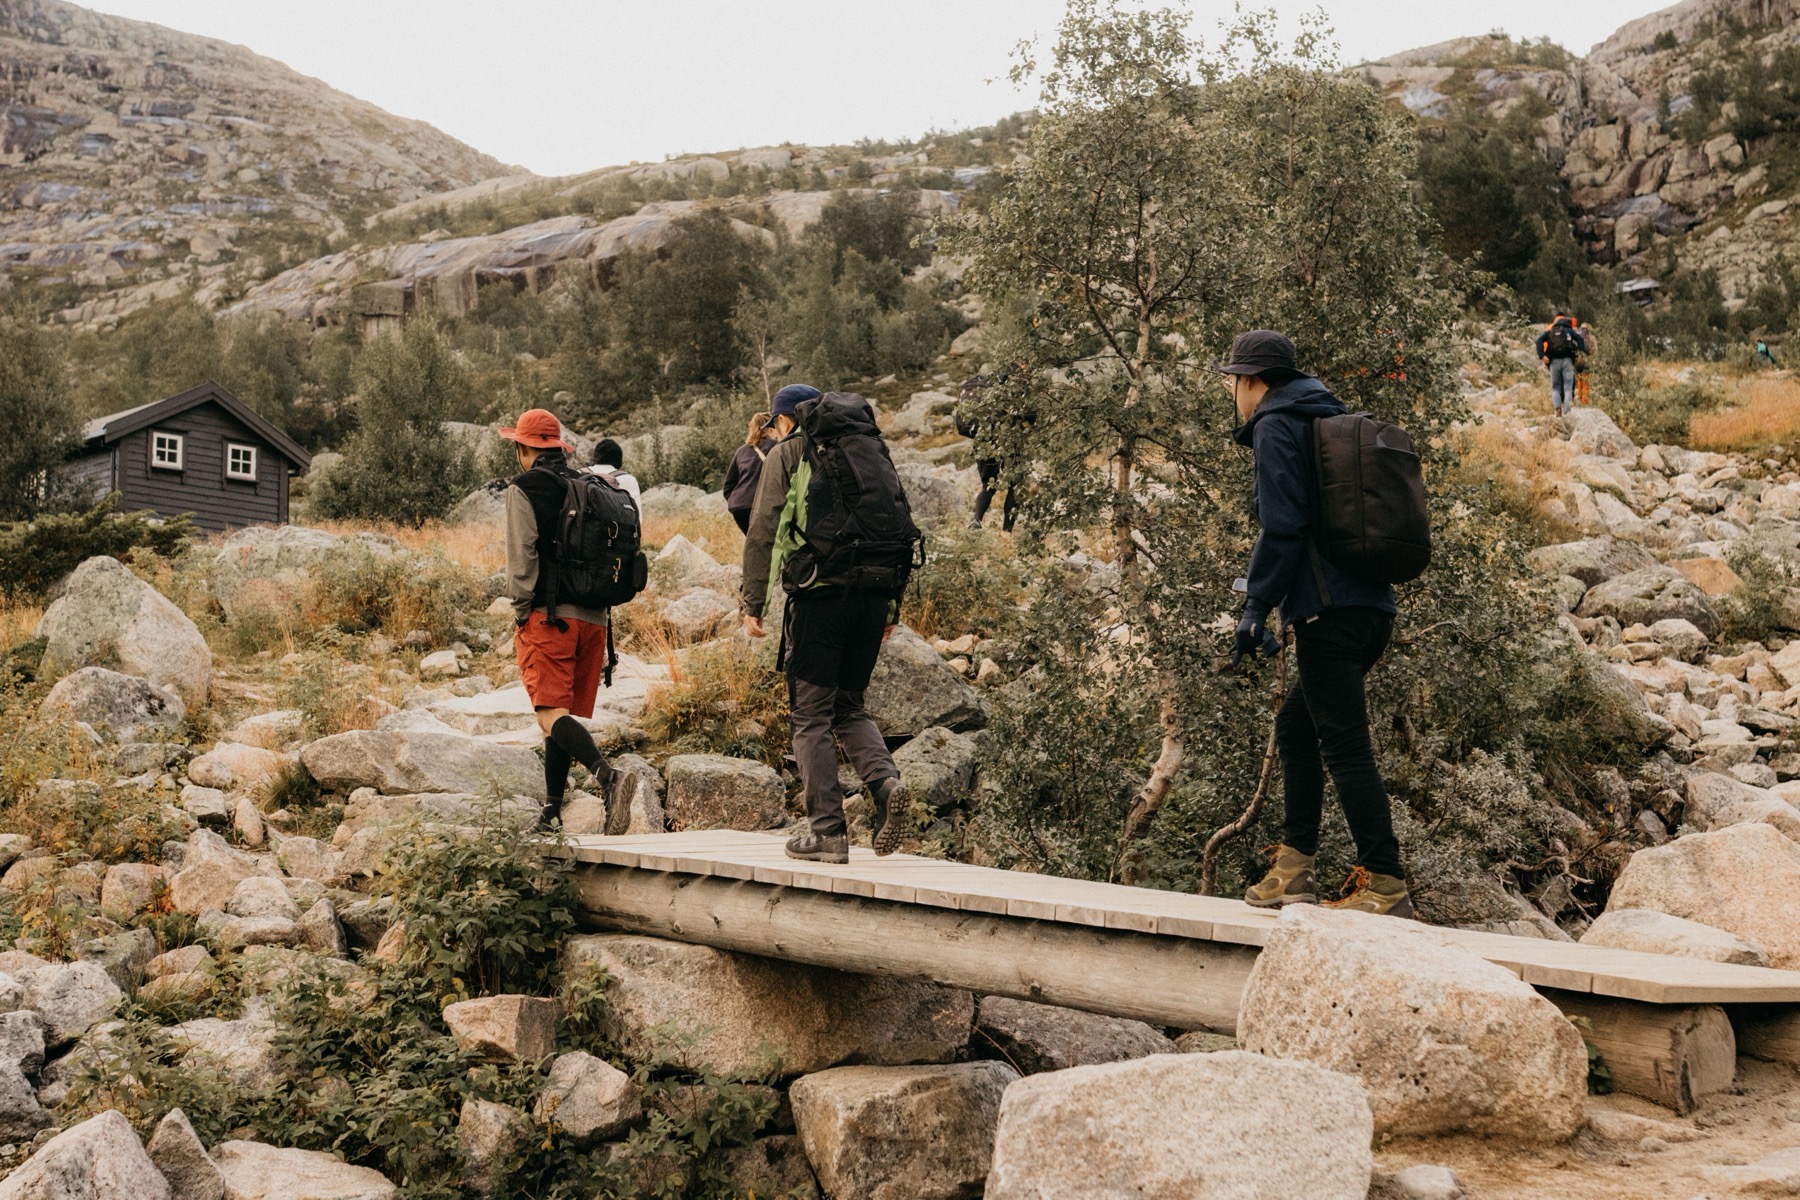
By Norwegian standards Ryten is a relatively friendly hill, but don’t let that lull you; this is no Sunday stroll. The very steepest section comes right after the car park, where you gain the first hundred metres of elevation, and then the terrain eases off pleasantly. Along the way you’ll come across one rocky spot by the beautiful Einangsvatnet lake, fitted with a length of chain just in case, but it’s nothing extreme and you’ll get past it without trouble.
What you must prepare for both mentally and physically is the ever-present deep mud in the upper sections, which won’t vanish from the path even after several days of steady dry weather. The park administration is gradually installing wooden boardwalks over the worst spots, but even so you’ll need really good waterproof boots with a solid sole. The surrounding moss and low shrubs grow for decades in harsh Arctic conditions, and a single footstep can destroy them for good. Arctic tundra is simply terribly vulnerable, so I strongly ask you not to walk around the muddy sections on the surrounding grass, because that causes enormous erosion and irreversibly destroys the fragile northern vegetation. 💡 Tip: As for children, the local tourist centre recommends the Ryten climb only from around ten years of age. The shorter direct route from Torsfjorden to Kvalvika Beach itself can be managed even with younger explorers, whom you just take by the hand on the steep, slippery descent from the mountain pass.
6. Camping at Kvalvika Has Its Harsh Rules
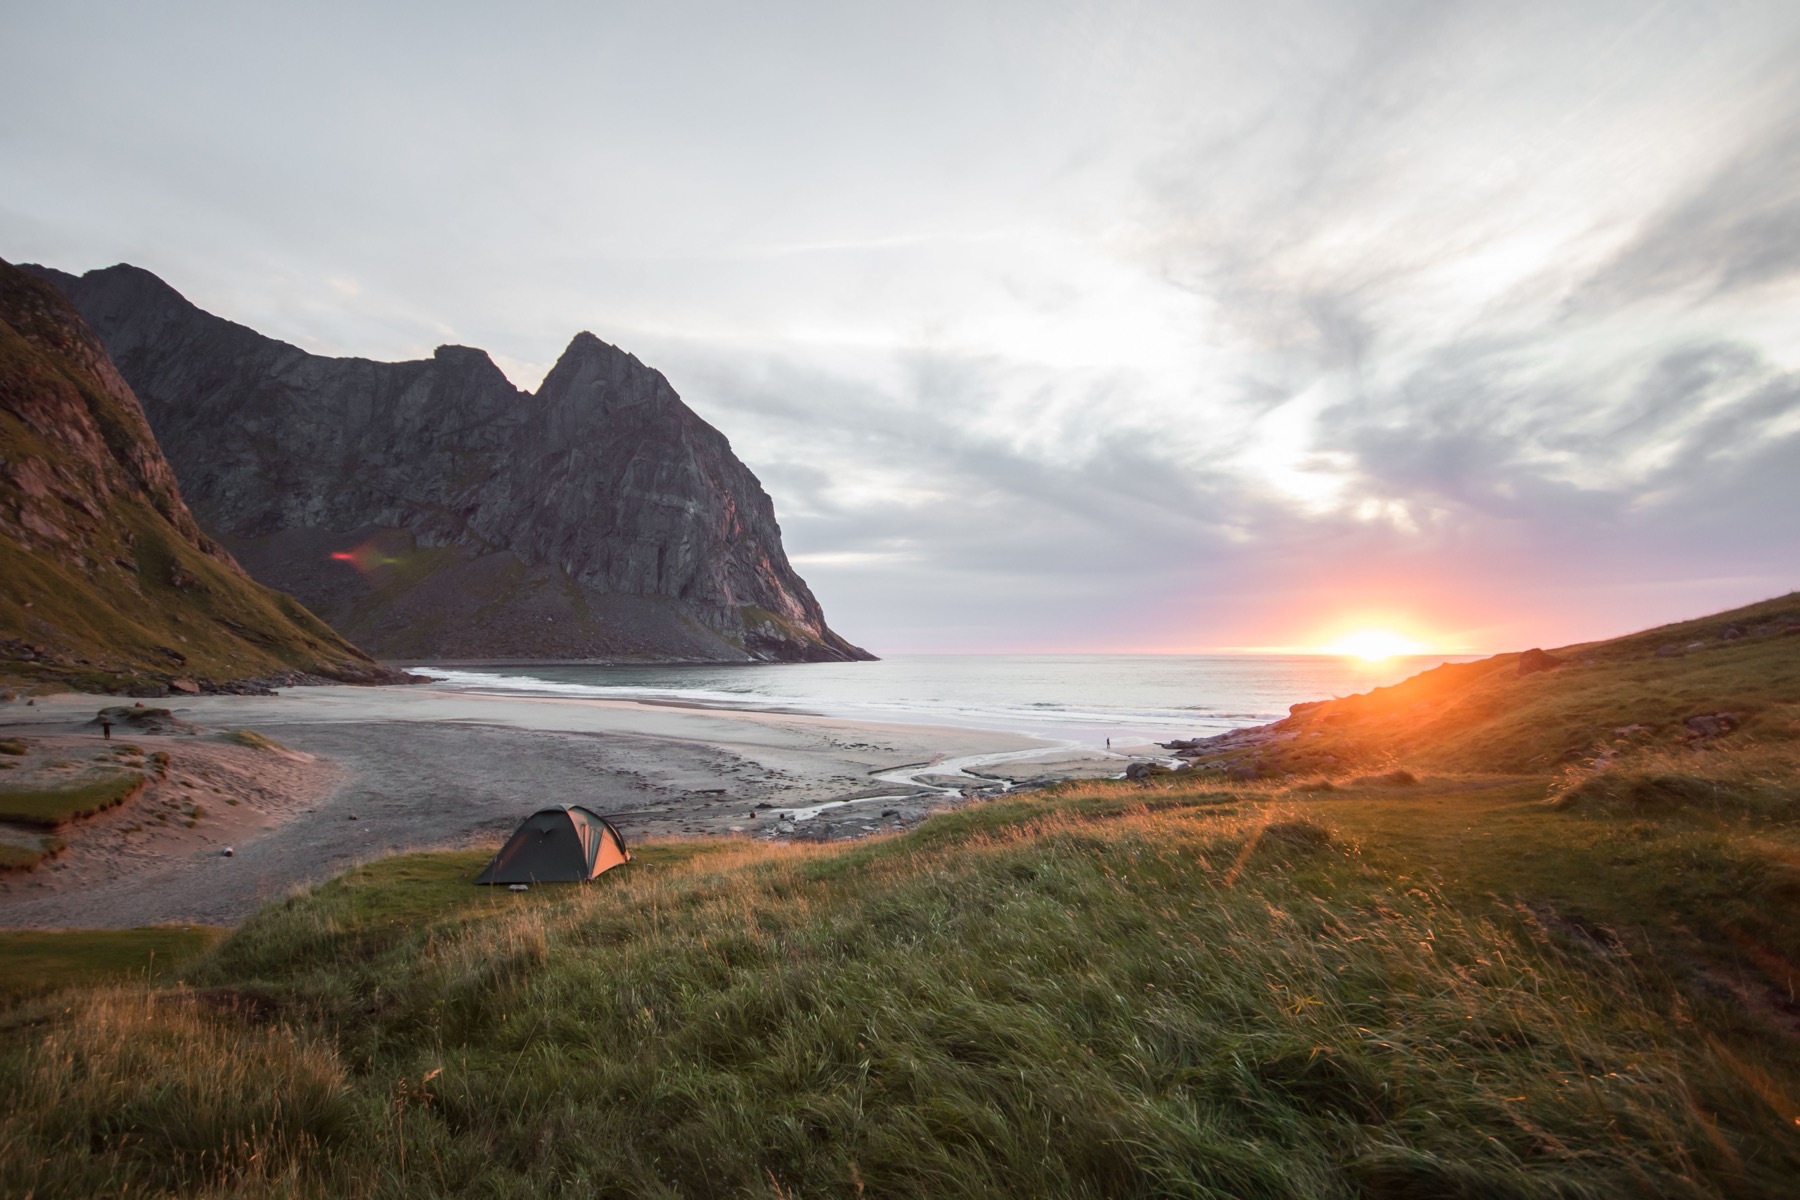
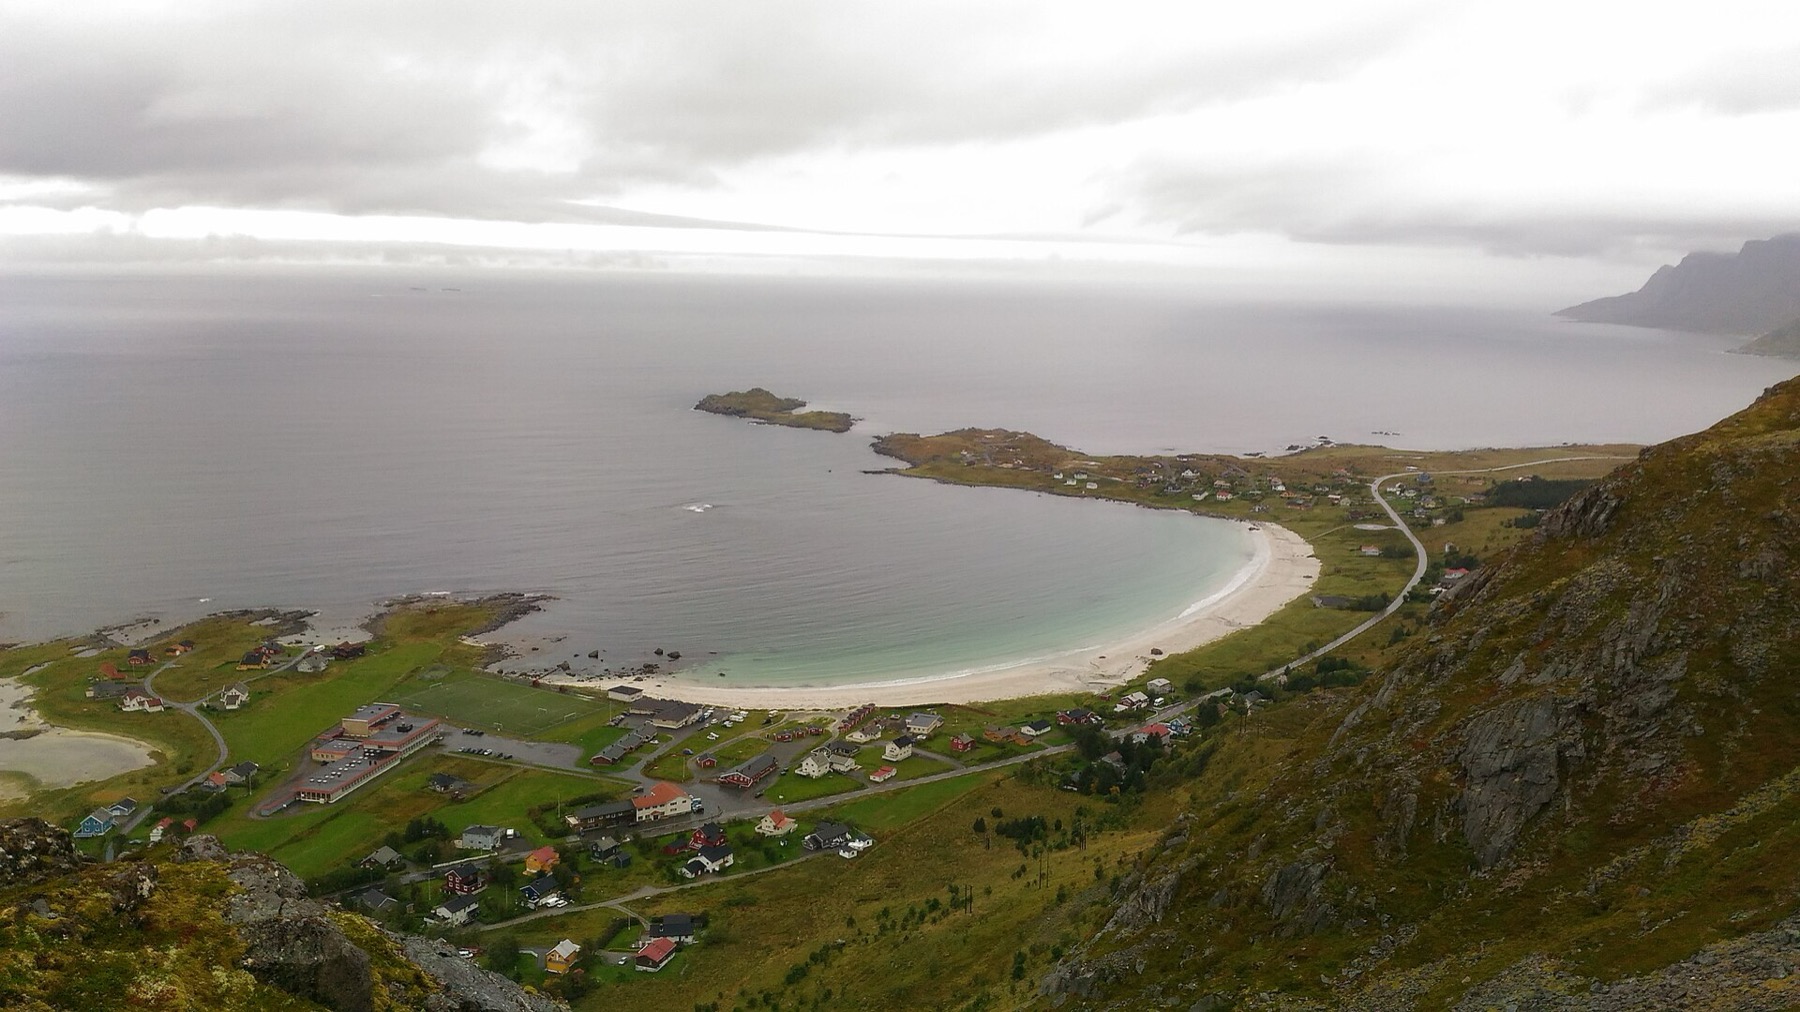
Pitching a tent right on Kvalvika Beach is a dream for many travellers, and thanks to Norway’s right to roam it’s entirely legal, because the beach lies in so-called open country. However, since you’re on national park territory, stricter rules apply here. You can camp for a maximum of two nights in one spot and you must pitch your tent on durable grassy ground, ideally on the raised terraces behind the sand dune, so you don’t damage the sensitive flora or get caught out by an unexpectedly high tide from the ocean.
The biggest catch of camping at Kvalvika is simple: there’s absolutely no infrastructure here. There are no bins and no toilets at all, so you have to carry out every bit of your rubbish. Unfortunately the huge number of campers has meant that recent water tests from the local streams showed high levels of E. coli bacteria, demonstrably originating from human waste. If you spend the night here, you must under all circumstances thoroughly boil the stream water or filter it with a travel filter. 💡 Tip: For doing your business, the visitor centre strongly recommends using special bags, so-called WAG bags, which you can buy at the nearby information centre in Reine, or otherwise you have to go really far from water sources and tents.
7. Find the Secret Driftwood Surfers’ Cabin
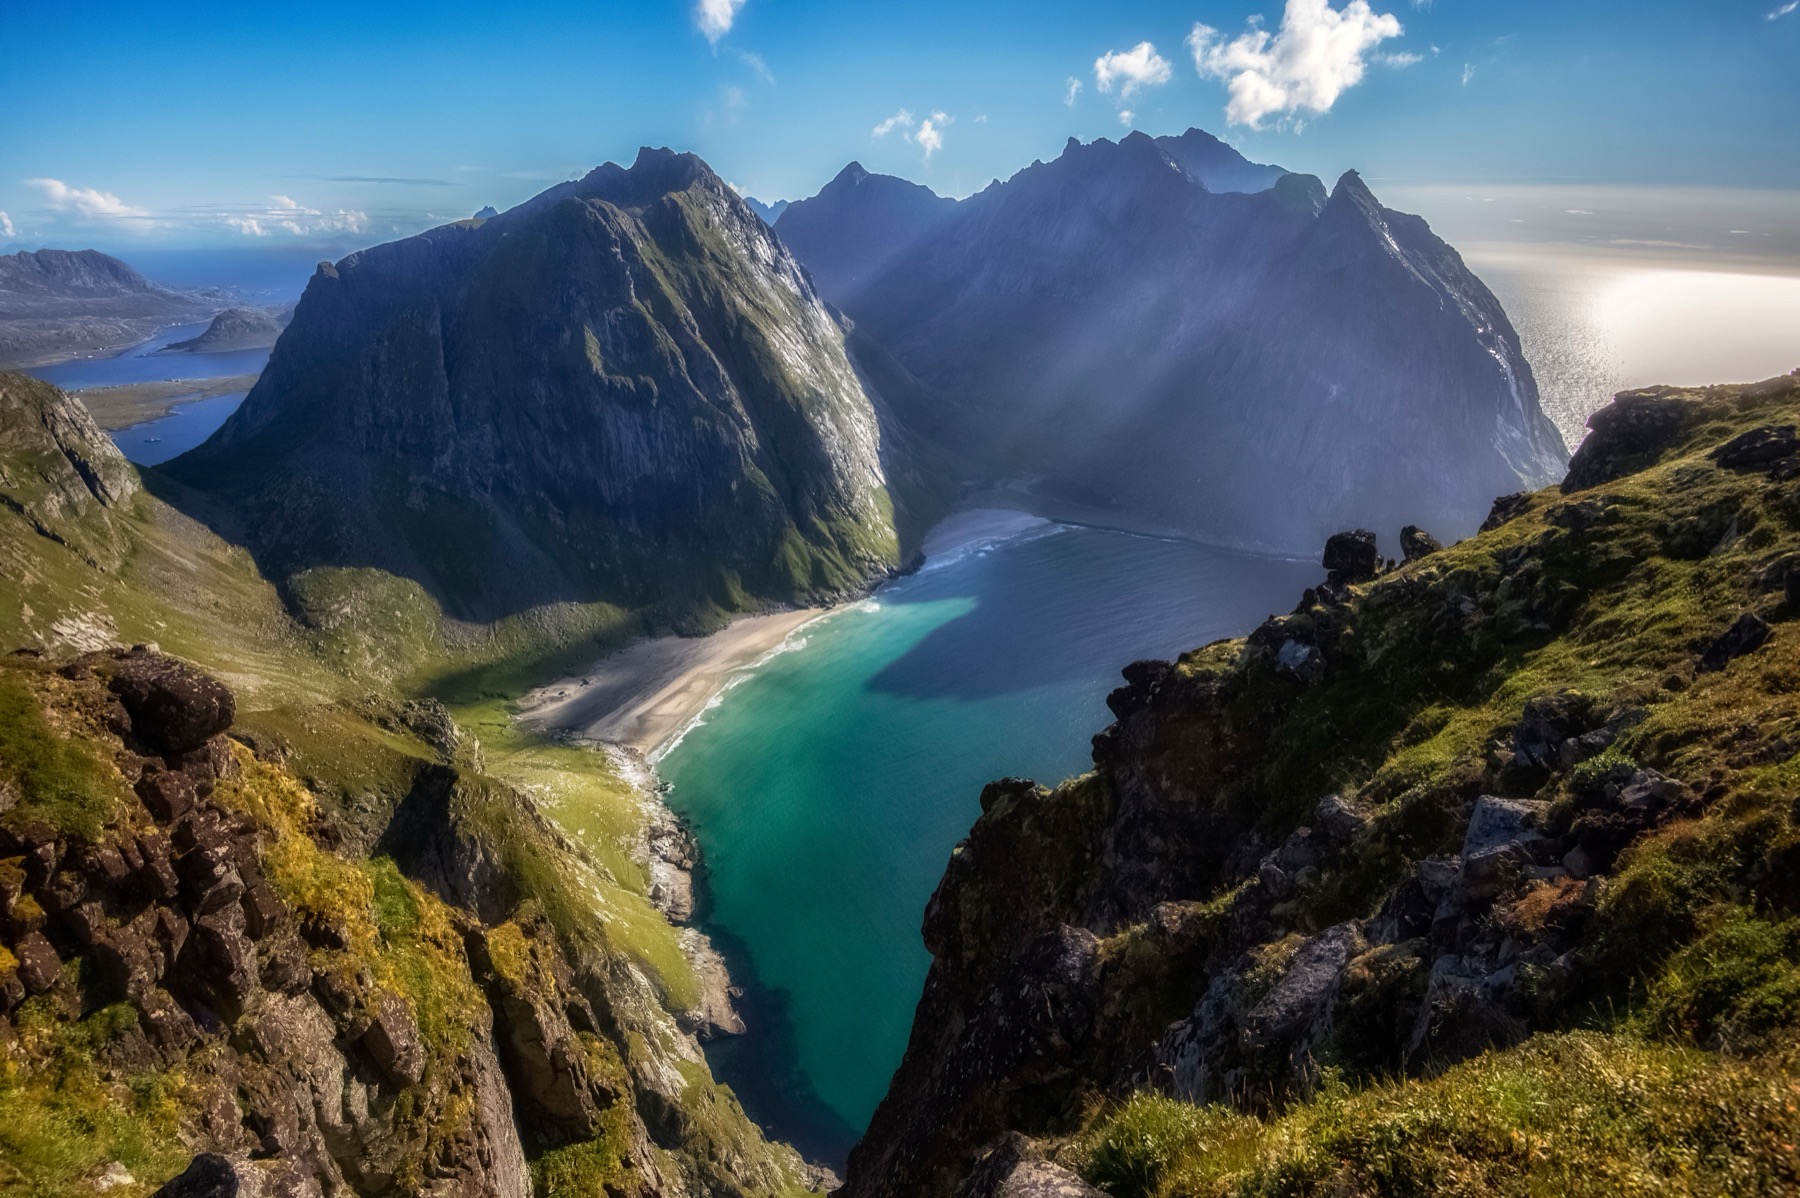
As you walk along the beach, you may notice in its more remote part a strange wooden structure hidden beneath enormous rocks. This is the famous cabin from the award-winning documentary North of the Sun from 2012. Two young Norwegian surfers spent nine long, harsh winter months here so they could ride the Arctic waves, and they built the whole shack entirely from driftwood and plastic waste washed up by the sea.
The cabin still stands there as a shelter from the elements and has become a kind of quiet symbol of what a person can do when they decide to simply live differently. The film, incidentally, won over twenty international awards, and when you see with your own eyes just how harsh the conditions were, among the sharp crags and the raging ocean, where these guys survived, your jaw drops. You can walk over and take a look, but remember it doesn’t serve as an official tourist hostel. If you do peek inside, treat it with enormous respect and, whatever you do, take nothing from it. 💡 Tip: Kvalvika Beach itself, by the way, has one more big natural secret. It’s actually split by a prominent rocky outcrop into two parts, and the north-eastern one is accessible dry-footed only during low tide. When exploring the coast, watch out for this carefully so you don’t get cut off by the rising water of the wild Atlantic.
8. In Winter, Ryten Is a Safer Alternative to Reinebringen
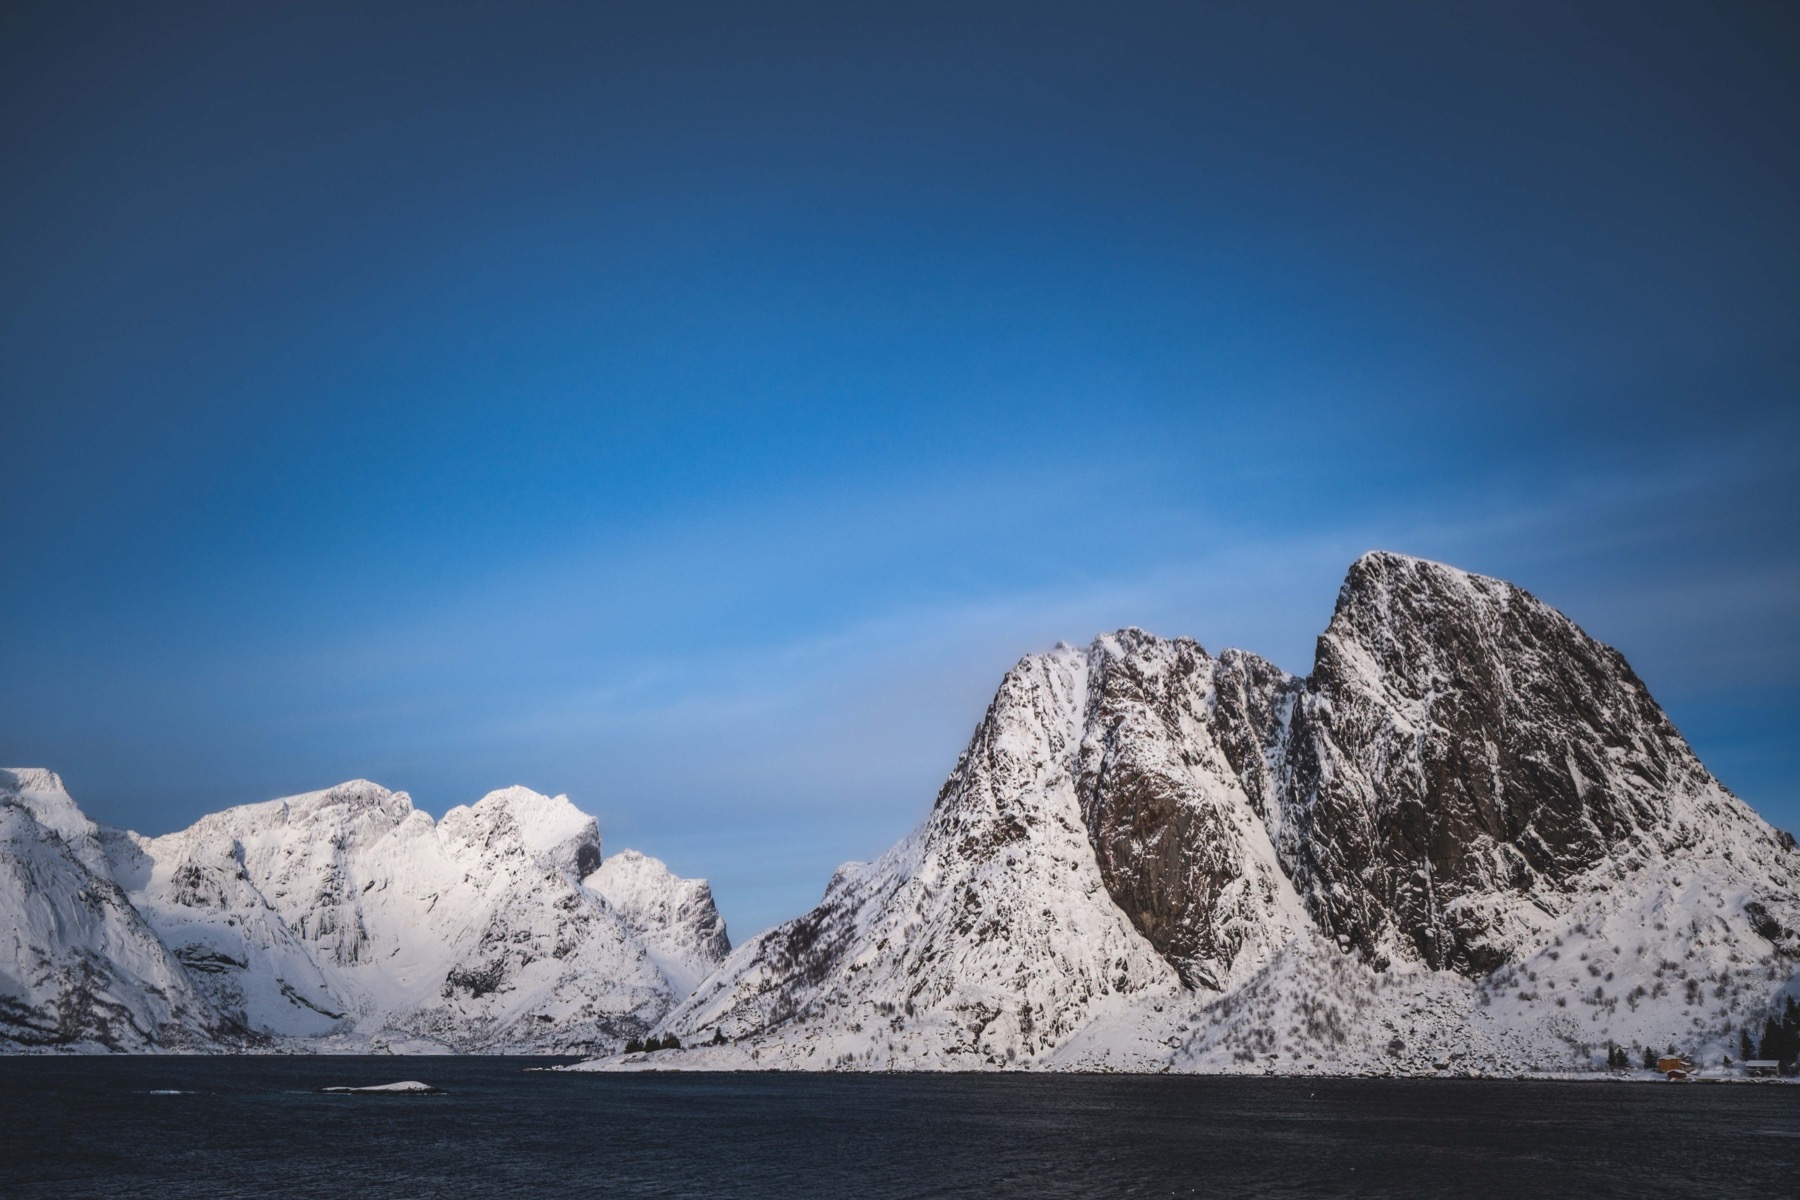
While the famous Reinebringen is deadly dangerous in the winter months due to the high avalanche risk, and it’s officially not recommended to climb at all, Ryten is a fantastic and much safer alternative. It’s one of the most accessible winter mountains in western Lofoten, but it’s still Arctic terrain, so underestimating your preparation would be a mistake. Until roughly mid-April you’ll absolutely need snowshoes and good micro-spikes or crampons, because that very first steep climb from the car park tends to be completely iced over and incredibly slippery.
On a winter ascent you must remember one critical rule. Once you start climbing the first stretch and reach the ridge, keep strictly to the left, because dangerous snow cornices regularly form to the right above the trail and can break off under your feet at any moment. Set aside a good five to six hours for the winter hike and, whatever you do, don’t head up the mountain if the forecast reports wind stronger than 10 metres per second. 💡 Tip: In winter, it’s best to skip the famous rocky overhang entirely. Icy rock combined with gusting wind really isn’t worth a perfect photo, and a fall into the abyss would be fatal.
9. Leave the Drone at Home, the Fines Are Astronomical
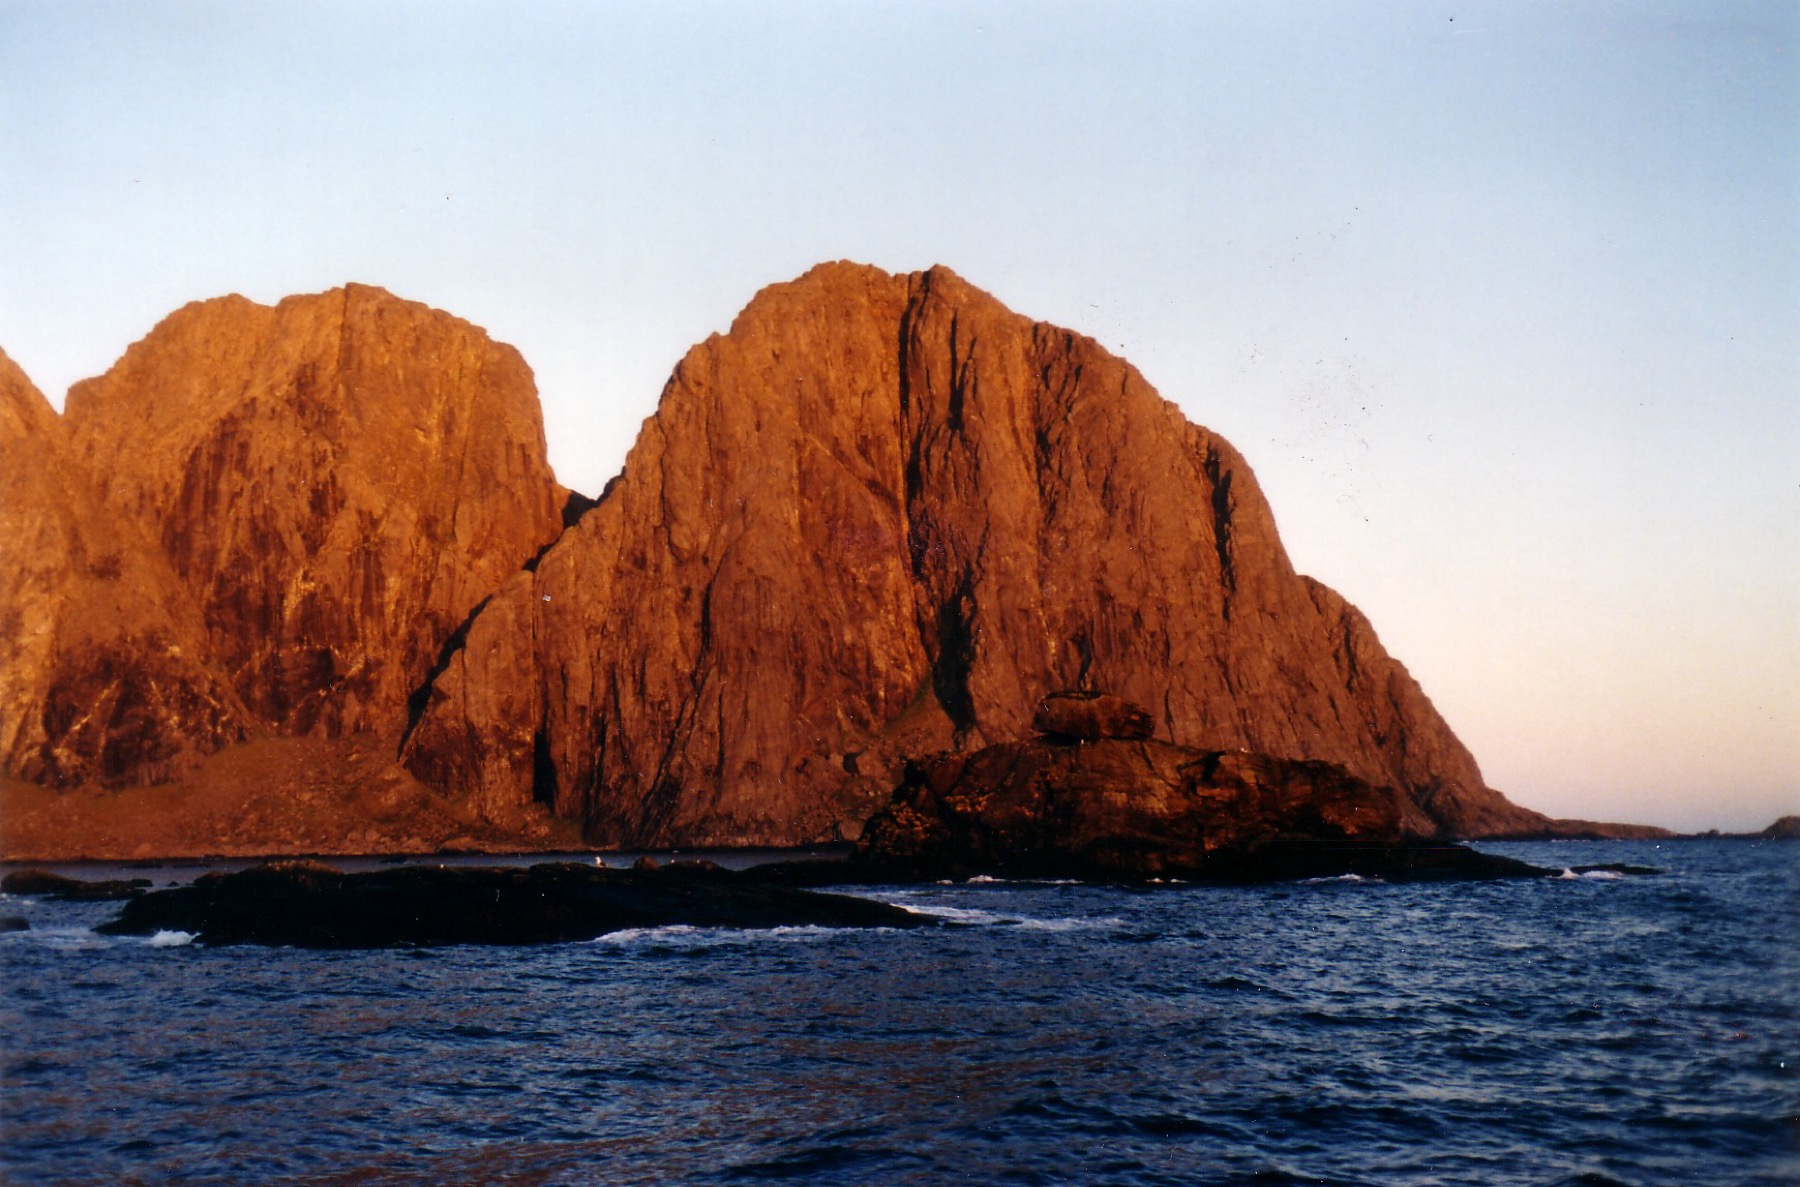
Lofoten from a bird’s-eye view looks absolutely fantastic, and Kvalvika Beach hemmed in by steep peaks practically begs you to launch a drone, but I have one absolutely crucial warning for you. This whole area falls under the strictly protected Lofotodden National Park, which was established in 2018 to protect the unique alpine coastal landscape and, above all, the nesting seabirds and white-tailed eagles. Flying drones is completely and without any exceptions forbidden throughout the entire national park.
If you were to break this ban, you risk not only the confiscation of your expensive gear, but above all a huge fine of 12,000 NOK (over €1,050). The park administration takes this rule extremely seriously, and the Norwegian police reportedly even pursue cases where people ignore the ban and later upload illegal footage to social media. 💡 Tip: International visitors often have no idea about this ban, because the park boundaries aren’t always clearly marked in the landscape. So if you’re not sure, always check the official map of protected areas before take-off. Better to enjoy those stunning views with your own eyes, so that a longed-for video doesn’t cost you more than your whole holiday.
10. Don’t Underestimate Your Gear and Download a Rescue App
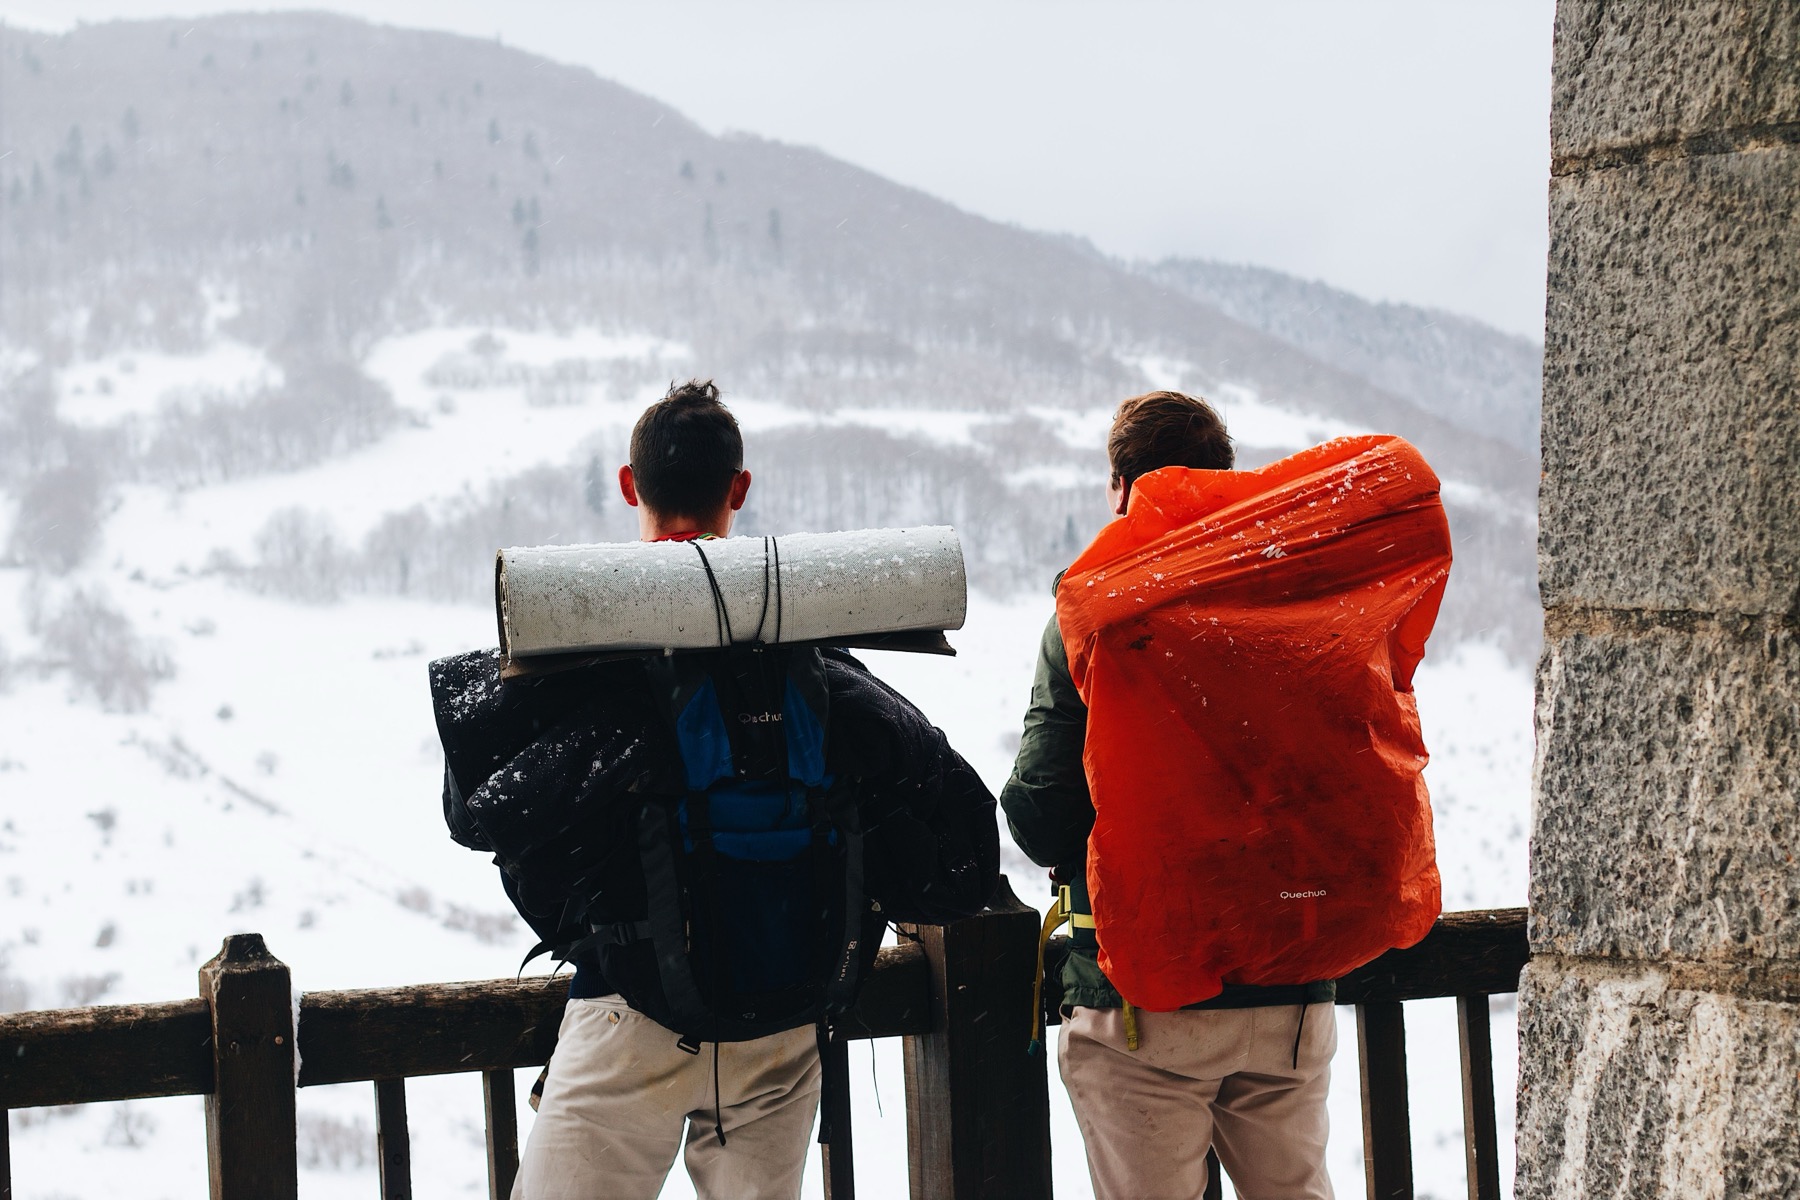
Even in the middle of summer, with pleasant sunshine down in the valley, the weather in Lofoten up on Ryten’s summit is guaranteed to be completely different. There’s no obstacle at all standing between the mountain itself and the open Atlantic Ocean, so up top there’s practically always a strong wind, and thick fog can swallow the entire landscape in just a few minutes. So always pack a good waterproof windbreaker, a warm mid-layer and plenty of drinking water in your backpack. On the way from the car park to the summit you won’t find any reliable spring, and the lake water tends to be contaminated. A layering system for your clothing is also essential. The weather here can change in a flash, and a sun-soaked ridge can turn into an icy hell in an instant.
A huge peculiarity of this particular area is very poor or entirely absent mobile signal. The national park administration explicitly warns visitors about this, so definitely download offline maps before your trip; something like Google Maps offline or the Maps.me app works great. 💡 Tip: I definitely also recommend installing the Norwegian rescue Hjelp 113 app. In any emergency it can automatically send your exact GPS coordinates to rescuers, even in places where the data connection is otherwise very weak. To be safe, save the emergency numbers too: in Norway, 112 is for the police and 113 for the ambulance.
Practical Summary and Rough Prices
Norway definitely won’t do your wallet any favours, I’ll tell you that straight. But the good news is that the nature itself, the views and the best experiences here are still free. Below you’ll find the current prices for parking, fines and any services for the summer season of 2026, so you can better work out how much this trip will cost you.
- Innersand car park (closest to Ryten): 100 NOK per day (about €9), paid in cash, by card or with the Vipps app.
- Old school car park in Fredvang: 250 NOK per day (about €22), paid via the EasyPark machine.
- Torsfjorden car park (closest to Kvalvika): Free, but only 16 spaces and usually full from early morning.
- Fine for parking badly on the road: 900 NOK (about €80), very strictly enforced.
- Fine for flying a drone: 12,000 NOK (about €1,050).
- Guided winter snowshoe hike (optional): about 1,990 NOK per person (about €175) including equipment rental.
- Entry to the trail and national park: Free.
Where to Stay Near Ryten
💡 Tip for accommodation and experiences: We prefer to look for accommodation on Booking.com, where the cancellation terms are usually the best. Tickets, tours and activities are then worth comparing and buying through GetYourGuide.
If you want to be among the very first at the trailhead and thus avoid the morning parking stress, I clearly recommend finding accommodation right in the little village of Fredvang or in the neighbouring town of Ramberg. From Ramberg it’s barely a ten-minute drive to the starting point, and on top of that you’ll find a beautiful long sandy beach and a very well-stocked supermarket to top up your supplies before the hike. Below you’ll find a few places with great reviews that strike a good balance of location, comfort and price. Just remember that summer season on Lofoten tends to sell out well in advance, so don’t put off your booking too long.
- For camping lovers and surfers: I recommend trying the iconic Lofoten Beach Camp, which sits right in Ramberg on the ocean shore. It offers lovely grassy tent spots, spacious pitches for caravans, and simple cosy cabins. Right in the camp there’s a great restaurant where you can rest up perfectly after a demanding hike, and you can even rent a wetsuit and surfboard if the Arctic waves tempt you.
- Traditional Lofoten rorbuer: If you long for romantic accommodation in classic red fishermen’s cabins standing on stilts over the water, definitely check out Lydersen Rorbuer. It’s located right in Fredvang, seriously just a few minutes from the start of the trail. The cabins have a fully equipped kitchen, which you’ll appreciate when cooking dinner, and from the windows you’ll look straight out onto the calm surface of the fjord.
- Cosy guesthouse in historic style: A short walk from Ramberg you’ll find the gorgeous and very characterful guesthouse Kafe Friisgarden. It offers immensely comfortable beds, excellent morning coffee and a fantastic homely atmosphere of the old Norwegian countryside. If you’re looking for something with a real Nordic soul, you’ll fall in love with this place.
- Modern apartments with a view: For a little more privacy and complete comfort, take a look at the popular Ramberg Gjestegård complex, where you can rent spacious cabins and fully equipped apartments right by the beautiful beach. It’s an ideal base for exploring all of western Lofoten.

Where to Eat and Refuel
On the trail itself you won’t find any refreshment stand, so a good snack in your backpack is an absolute must. But once you make it back down to civilisation, you’ll definitely have worked up an appetite. There isn’t a restaurant on every corner in this part of Lofoten, yet you’ll still find a few great spots where you can reliably reward yourself after the hike.
If you’re parking or staying right in Ramberg, the closest option is the restaurant at Ramberg Gjestegård: they cook local fish specialities and warming soups, and the glass terrace looks straight out onto the beach. Either way, count on bringing a snack; there’s no reliable food on the trail or at the car parks.
Where to Go Next
If you have more time in Lofoten and further mountain adventures tempt you, definitely read our big overview of the best treks and hikes in Lofoten. And if Kvalvika Beach charmed you, we’ve also put together a guide to the most beautiful beaches in Lofoten, including the famous Haukland and Uttakleiv.
For the braver souls who want to conquer hundreds of stone steps, we’ve prepared a detailed article, Reinebringen: the climb and current status. And if you’re only just starting to plan the whole trip and aren’t sure of the timing, our piece When to Visit Lofoten will help you pick the best month depending on whether you want to see the northern lights or the midnight sun.
Frequently Asked Questions
Planning trips in Norway can sometimes raise more questions than answers, especially when you’re headed to such a popular spot. I’ve summed up the most common queries for you, so you’re completely clear before your trip to Ryten and Kvalvika Beach and can set off with total peace of mind.
How long does the hike to Ryten and Kvalvika take?
If you decide to do the big loop combining the mountain summit and the beach, count on a total time of five to seven hours of pure walking depending on your fitness level. If you take the shortest possible route from the small Torsfjorden car park just to the beach itself and straight back, it will take you around three hours. Keep in mind that these times are just approximate. If you take lots of photos or want to enjoy a longer picnic on the beach, feel free to add another hour or two to your estimate.
Can the hike be done with small children?
The shorter route to Kvalvika beach itself can be managed even by younger children, though you’ll need to help them with the final steep descent over slippery rocks. However, the ascent all the way to the Ryten summit is recommended for children from around ten years old, because the terrain is often very muddy and the entire route is quite lengthy. Always remember quality hiking footwear for the whole family. The Arctic climate and muddy terrain simply don’t forgive even the smallest mistakes in equipment.
Where should I park my car?
In the summer season, skip the tiny Torsfjorden car park altogether, as it’s usually full immediately. I definitely recommend using the private Innersand car park for 100 NOK per day, or alternatively the large parking area by the old school in Fredvang for 250 NOK per day. This way you’ll avoid huge fines for illegal parking along the road. Try to arrive as early as possible in the morning, ideally around eight o’clock. In high season, even the largest parking areas can fill up unpleasantly fast.
Is camping allowed on Kvalvika beach?
Yes, camping on the beach is permitted thanks to the right to roam, but you may only stay for a maximum of two nights. Keep in mind that you’re in a protected national park, so you must not damage sensitive vegetation, light fires during dry months, and you absolutely must carry all rubbish back to your car with you. I recommend choosing your sleeping spot really carefully. The wind can seriously pick up at night, so shelter behind a natural ridge and anchor your tent properly.
Is it safe to drink water from the streams on the beach?
Definitely don’t try it without treatment first. Due to the huge number of campers without available toilets, most streams at Kvalvika have been confirmed to contain dangerous E. coli bacteria. You must therefore always thoroughly boil or filter the water with a travel filter, so you don’t ruin your holiday with intestinal problems. The absolute best prevention is of course to bring enough of your own clean water from the valley. It’s a few extra kilos in your backpack, but it’s definitely worth it for the peace of mind.
Can you hike Ryten in winter?
Yes, Ryten is one of the safest winter ascents in the Lofoten, unlike the avalanche-notorious Reinebringen. However, snowshoes and crampons are an absolute necessity – without them, the first icy climb will send you flat on your back. For safety reasons, always stay well away from the snow cornices on the left side of the ridge, which can break off. Before you even leave your accommodation, don’t forget to carefully check the current weather forecast. If the Norwegians are reporting strong winds or an approaching snowstorm, it’s much wiser to stay down and choose a walk on flat ground instead.
Where exactly can I find that famous rocky overhang?
Don’t look for the iconic rock jutting out over the sea and deep abyss at the very flat summit of Mount Ryten. It’s located on the ascent route about five minutes’ walk just below the summit on your right-hand side, so in good weather and visibility you practically can’t miss it, and you’ll safely recognize it by the cluster of tourists. When you get there, be patient. There’s usually a queue for the perfect photo, so just sit down nearby, have a snack and simply enjoy the incredible view while you wait your turn.
Are there any toilets or refreshments on the route?
The only toilets on the entire route can be found only at the paid Innersand car park, where during the main summer season a small food truck with refreshments often parks as well. On the mountain trail itself, at the Ryten summit or down on Kvalvika beach there are absolutely no facilities – you won’t find any rubbish bins, drinking water or stalls there. So definitely pack something energizing to eat in your backpack and possibly also rubbish bags to store not only empty packaging, but also banana peels. These take an incredibly long time to decompose in Nordic nature.
Tips and Tricks for Your Vacation
Don’t Overpay for Flights
Search for flights on Kayak. It’s our favorite search engine because it scans the websites of all airlines and always finds the cheapest connection.
Book Your Accommodation Smartly
The best experiences we’ve had when looking for accommodation (from Alaska to Morocco) are with Booking.com, where hotels, apartments, and entire houses are usually the cheapest and most widely available.
 🚗 Car rental on the roadVerified rental cars in Norway
Search with the DiscoverCars comparison engine — it compares prices from dozens of local and international rental companies, and most bookings come with free cancellation.
Compare car prices in Norway →Don’t Forget Travel Insurance
Good travel insurance will protect you against illness, accidents, theft, or flight cancellations. We’ve had a few hospital visits abroad, so we know how important it is to have proper insurance arranged.
Where we insure ourselves: SafetyWing (simple monthly subscription) and TrueTraveller (for extra-long trips).
Find the Best Experiences
Get Your Guide is a huge online marketplace where you can book guided walks, trips, skip-the-line tickets, tours, and much more. We always find some extra fun there!
More from Lofoten
Full guide → When to go · most readWhen to Visit Lofoten, Norway: Weather Month by Month and the Midnight Sun 2026
 ActivitiesReinebringen Norway: 6 Things to Know — The Hike, Steps & Current Status
 Travel storyWhat to Pack for Lofoten, Norway: A Packing List for Every Season
 What to see7 Things to Do in Lofoten, Norway When It Rains: Your Backup Plan
 Getting thereLofoten Islands by Campervan: Parking & Rules for 2026


